Last Updated on July 19, 2025 by Digital pariksha
Hey there, aspiring website owner! Ever dreamed of having your own blog, online store, or a professional portfolio but felt intimidated by the “techy” stuff? Well, you’re in luck! This guide is going to show you just how easy it is to set up a powerful website on WordPress with Hostinger, one of the most user-friendly web hosts out there. We’re talking minutes, not hours!
👉Read Our Blog on – 7 Best Web Hosting Providers for Small Business
How to Setup WordPress with Hostinger Web Hosting
By the end of this article, you’ll know exactly how to get your site up and running, ready for you to share your ideas, products, or services with the world. No complicated code, no headaches – just simple, straightforward steps for beginners. Let’s get started!
Step 1: Grabbing Your Hostinger Plan (and a Free Domain!)
First things first, you need a place for your website to live online, and that’s where Hostinger comes in. They’re super popular for a reason: great performance and excellent value, especially for WordPress users.
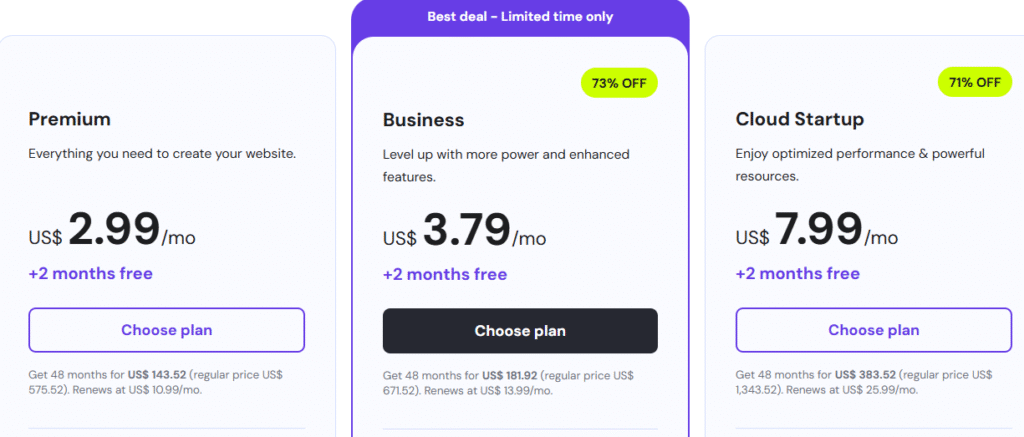
- Choose your plan: Head over to Hostinger’s website. You’ll see different web hosting plans. For most beginners and small businesses, their “Premium Shared Hosting” or “Business Shared Hosting” plans are fantastic. They offer a good balance of features, speed, and budget-friendliness. The Business plan, for instance, often includes more resources and daily backups, which is a smart move.
- Get your free domain: A cool perk with many Hostinger plans is a free domain name for the first year. This is your website’s address (like
yourwebsite.com). Pick something memorable and relevant to your brand! If you already have a domain, you can connect it later.
👉You can use – Hostinger Premium Coupon code
Once you’ve picked your plan and domain, follow the prompts to complete your purchase. You’ll create an account and fill in your details. Easy peasy!
Step 2: Logging into hPanel – Your Website Control Center
After your purchase is complete, you’ll receive an email with your login details for Hostinger’s control panel, called hPanel. This is where all the magic happens – it’s your command center for managing your hosting, domains, and, of course, installing WordPress.
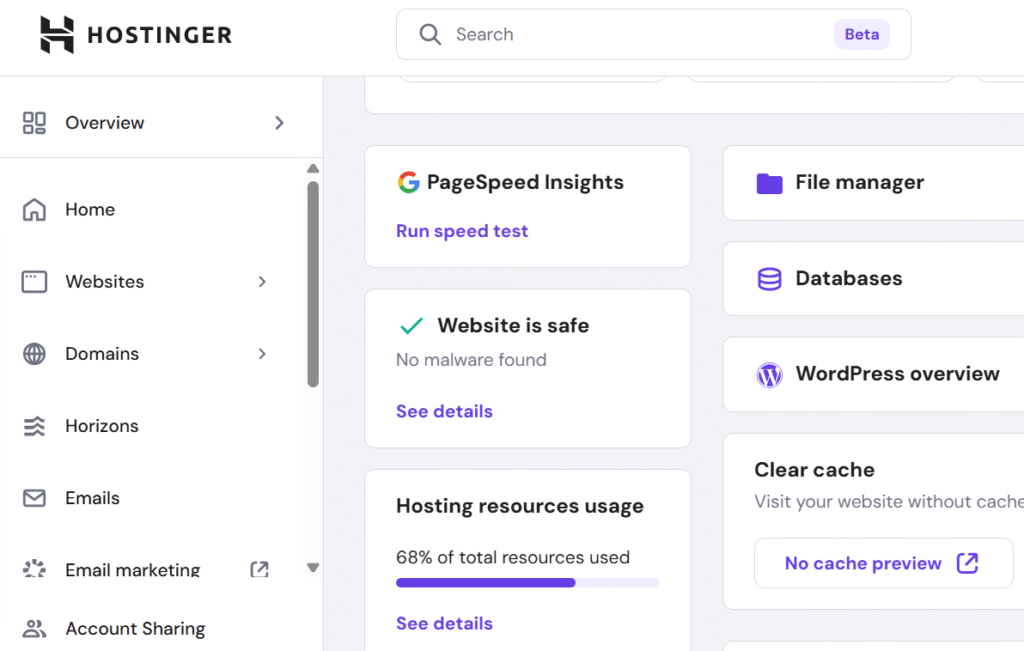
- Find the “Manage” button: Log in to your Hostinger account. You’ll likely see a “Websites” section on your dashboard. Find the hosting plan you just bought and click the “Manage” button next to it.
- Welcome to hPanel! This will take you directly into your hPanel. Don’t worry if it looks a bit busy at first; we’re focusing on one specific tool today: the Auto Installer. Hostinger designs hPanel to be super intuitive, so you’ll get the hang of it quickly.
Step 3: Unleashing the Auto Installer for WordPress
Here’s where Hostinger makes setting up WordPress a breeze. They have an “Auto Installer” tool that does all the heavy lifting for you.
- Find “Auto Installer”: On the left-hand sidebar in hPanel, look for the “Website” section and then click on “Auto Installer.” You’ll see a list of applications you can install.
- Select WordPress: Click on the “WordPress” option. This will bring up a short form to fill out.
- Fill in the details:
- Website Title: This is the name of your website (e.g., “My Awesome Blog” or “Sarah’s Bakery”). You can change this later.
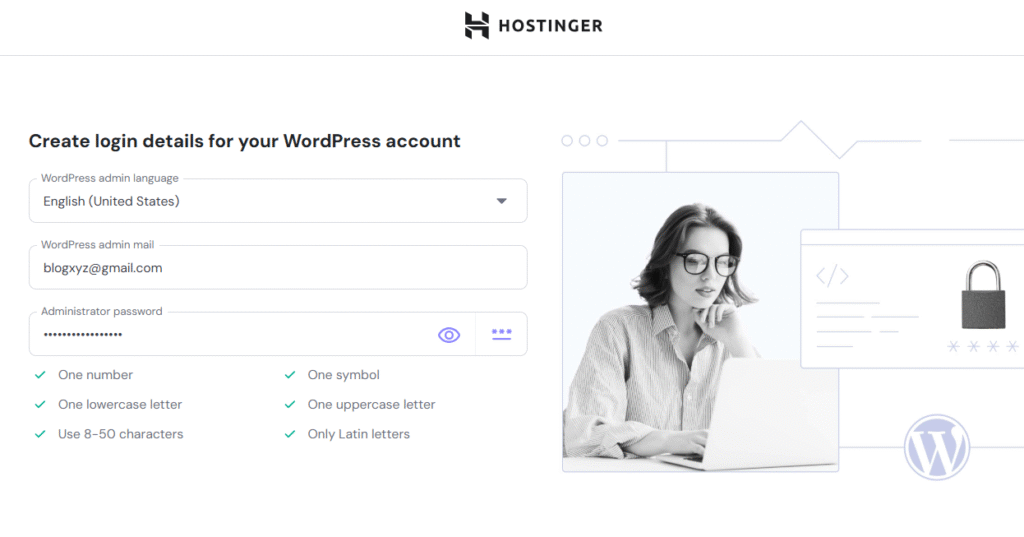
- Administrator Email: Use an email you check regularly. This will be your login for the WordPress admin area.
- Administrator Username: Create a unique username. Avoid “admin” for security reasons!
- Administrator Password: Create a strong, unique password. Think a mix of uppercase, lowercase, numbers, and symbols. Write it down somewhere safe!
- Language: Choose your preferred language for the WordPress dashboard.
- WordPress Version: It’s usually best to choose the latest stable version.
- Choose your domain: If you have multiple domains, select the one you want to install WordPress on from the dropdown menu.
- Click “Install”: Double-check everything, then hit that “Install” button! Hostinger will now work its magic, installing WordPress on your chosen domain. This usually takes less than a minute.
Step 4: Your First Look at the WordPress Dashboard
Congratulations! WordPress is now installed. You’ll see a success message from Hostinger. Now, let’s dive into your new website’s control panel – the WordPress dashboard.
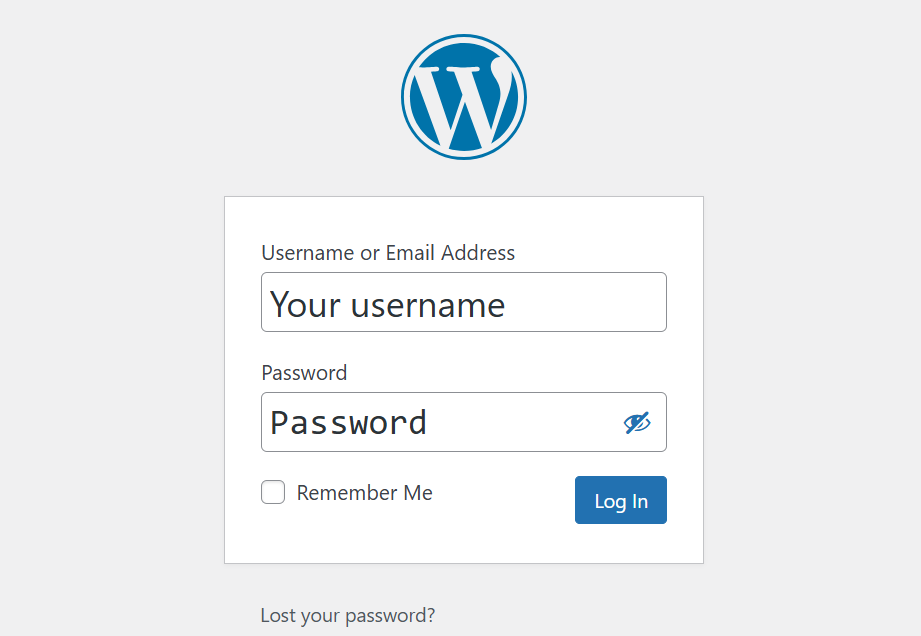
- Access the admin panel: Hostinger gives you a shortcut! On the “WordPress Overview” page in hPanel (which you can find under “Websites” > “WordPress” on the sidebar), you’ll see a button like “Edit Website” or “Admin Panel.” Click that!
- Or, type it in: You can also access your WordPress login page by typing
yourdomain.com/wp-admin(replaceyourdomain.comwith your actual domain) into your browser’s address bar. - Log in: Use the Administrator Username and Password you created in Step 3. Welcome to your WordPress dashboard! This is your new home for creating posts, pages, adding photos, and customizing your site.
Step 5: Quick Post-Installation Tips for Beginners
You’ve got WordPress installed – awesome! Here are a few quick tips to get you started on the right foot.
- Explore the Dashboard: Spend a few minutes clicking around. Don’t worry, you can’t break anything! See where “Posts,” “Pages,” “Appearance” (for themes), and “Plugins” are located.
- Pick a Theme: Your website’s “look” is controlled by a theme. Go to “Appearance” > “Themes.” WordPress comes with some default ones, but you can also click “Add New” to browse thousands of free themes. Find one that fits your vision! Hostinger often suggests popular, fast themes during the setup, like Astra or Blocksy.
- Install Essential Plugins: Plugins add extra features to your site. Think of them like apps for your phone. Some must-haves for 2025 include:
- LiteSpeed Cache: (Hostinger often auto-installs this!) Crucial for speed and performance.
- Yoast SEO or Rank Math: Helps you optimize your content for search engines.
- Contact Form 7 or WPForms: To easily create contact forms.
- Wordfence Security: For basic website security.
- Start Creating: Go to “Posts” > “Add New” to write your first blog post, or “Pages” > “Add New” for static content like an “About Us” or “Contact” page.
FAQ: Your Quick WordPress & Hostinger Questions Answered
Q1: My website isn’t showing up after installation. What’s wrong?
Don’t panic! It can take a little time (sometimes up to a few hours) for your domain’s DNS (Domain Name System) to fully update across the internet. This is called DNS propagation. If it’s been a while, double-check that your domain is pointing to Hostinger’s nameservers, which you can usually do in your domain registrar’s settings or Hostinger’s hPanel.
Q2: Can I install WordPress manually with Hostinger?
Yes, you can, but the Auto Installer is by far the easiest method for beginners. Hostinger’s hPanel simplifies the process immensely. Manual installation involves creating databases, uploading files via FTP, and configuring settings, which is more advanced. Stick to the auto-installer unless you really know what you’re doing!
Q3: Does Hostinger automatically update WordPress for me?
Yes, generally! Hostinger’s managed WordPress hosting includes automatic updates for WordPress core, minor versions, and sometimes even themes and plugins, depending on your plan. This is a huge benefit for security and keeping your site running smoothly in 2025 without you having to constantly check.
Q4: Is my WordPress site secure with Hostinger?
Hostinger provides excellent security features, including free SSL certificates, a web application firewall (WAF), and automatic malware scanning on many plans. While they handle server-level security, you should still follow WordPress security best practices like using strong passwords, keeping plugins/themes updated, and installing a security plugin.
Your Website Journey Starts Now!
See? Setting up WordPress with Hostinger really is super simple. You’ve just taken a huge step towards getting your ideas, business, or passion online. Now that the technical part is done, the fun truly begins: designing your site, adding content, and connecting with your audience.
Discover more from Digital Pariksha
Subscribe to get the latest posts sent to your email.

